FREE SHIPPING NZ WIDE ON ORDERS OVER $90 | AUS SHIPPING FROM $17 AUD
FREE SHIPPING NZ WIDE ON ORDERS OVER $90 | AUS SHIPPING FROM $17 AUD


Cerakote Headlight Restoration is completed in 3 quick and easy steps, with no power tools required. Cerakote is different than other headlight restoration kits because we manufacture a true professional grade ceramic coating that chemically bonds to the headlights and provides UV protection that stands the test of time.
Genuine Cerakote product imported from the USA.
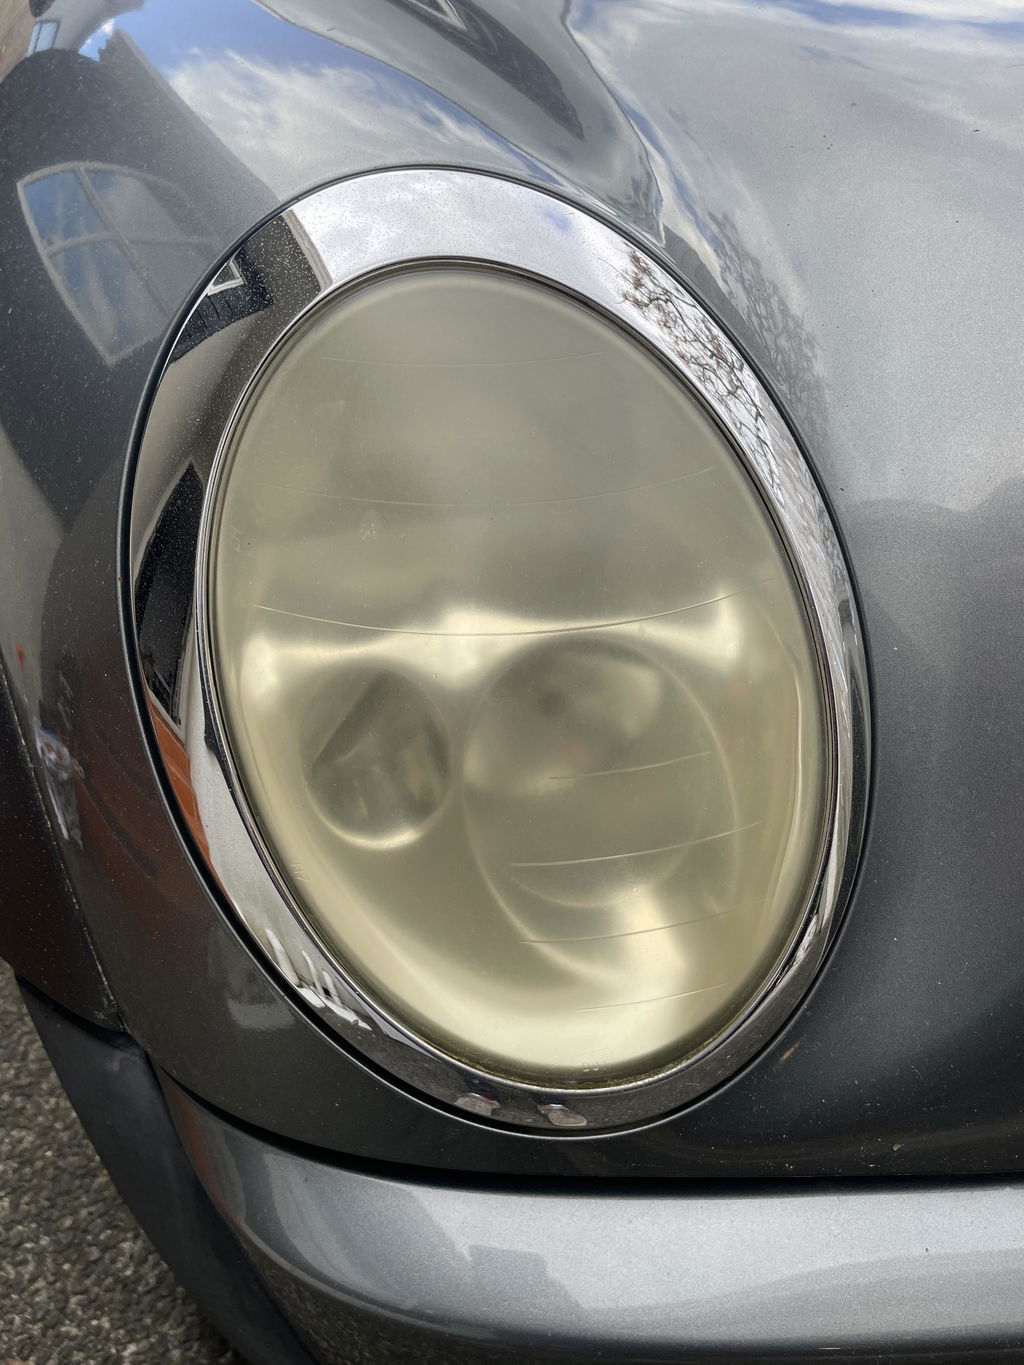
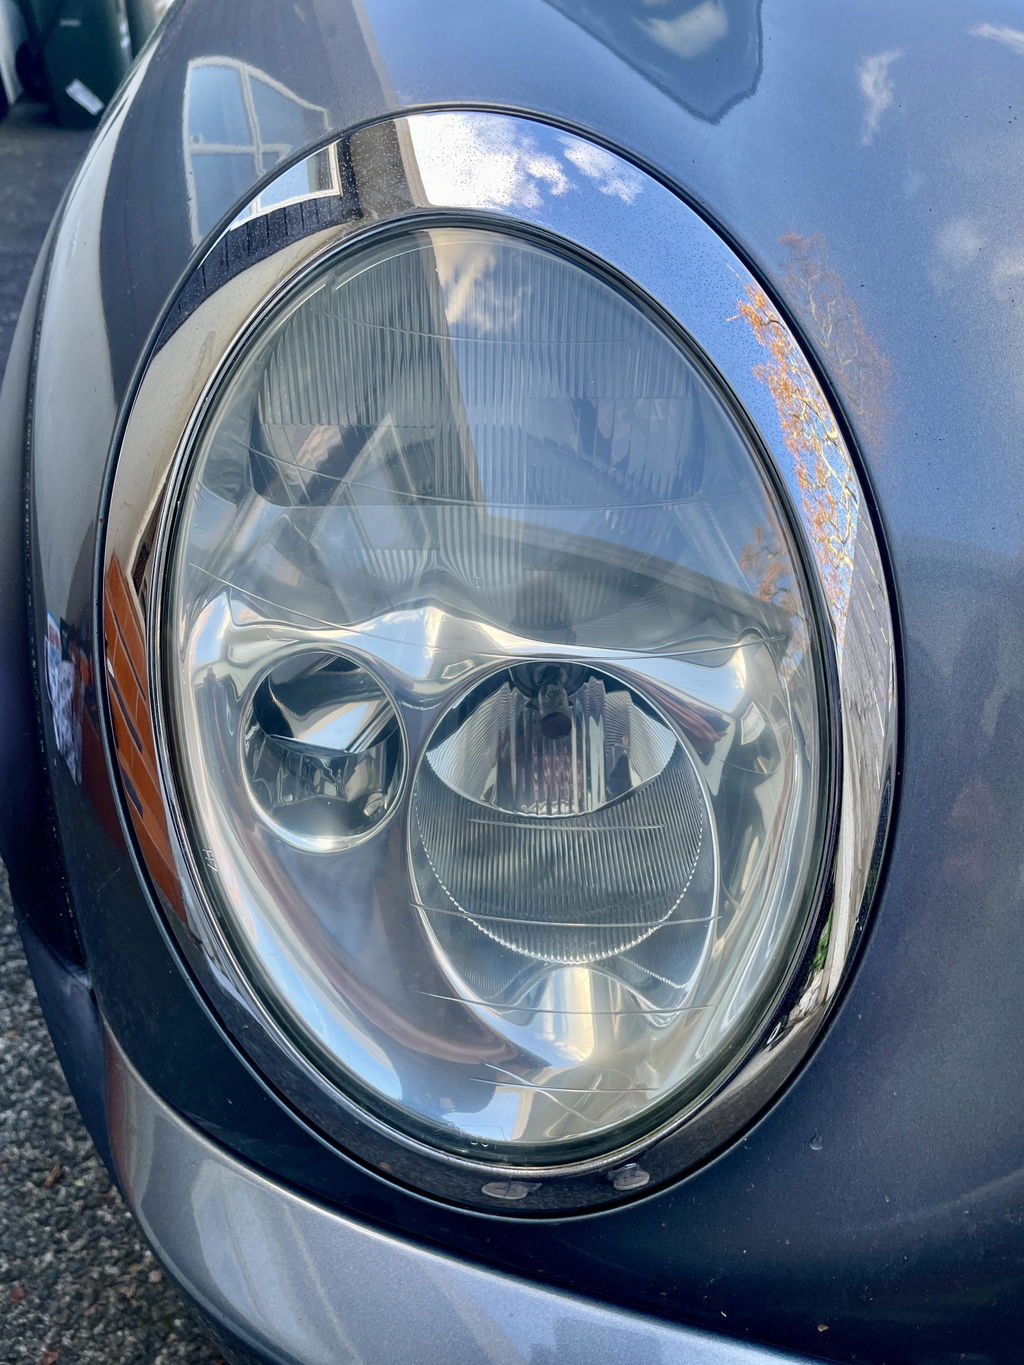
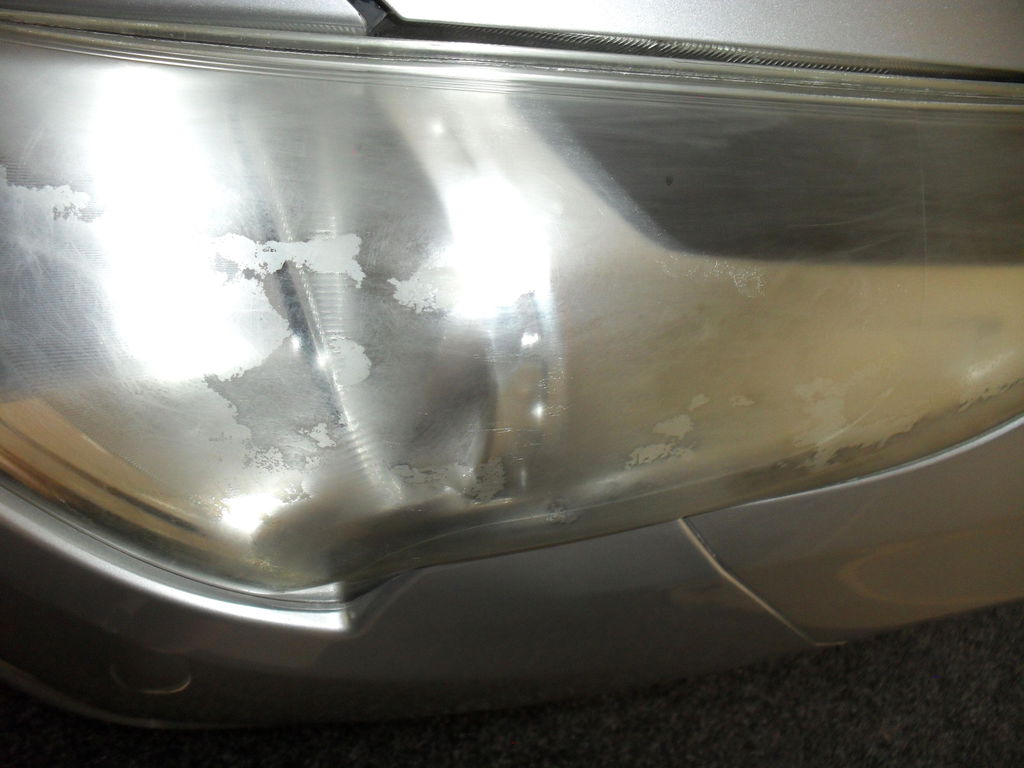
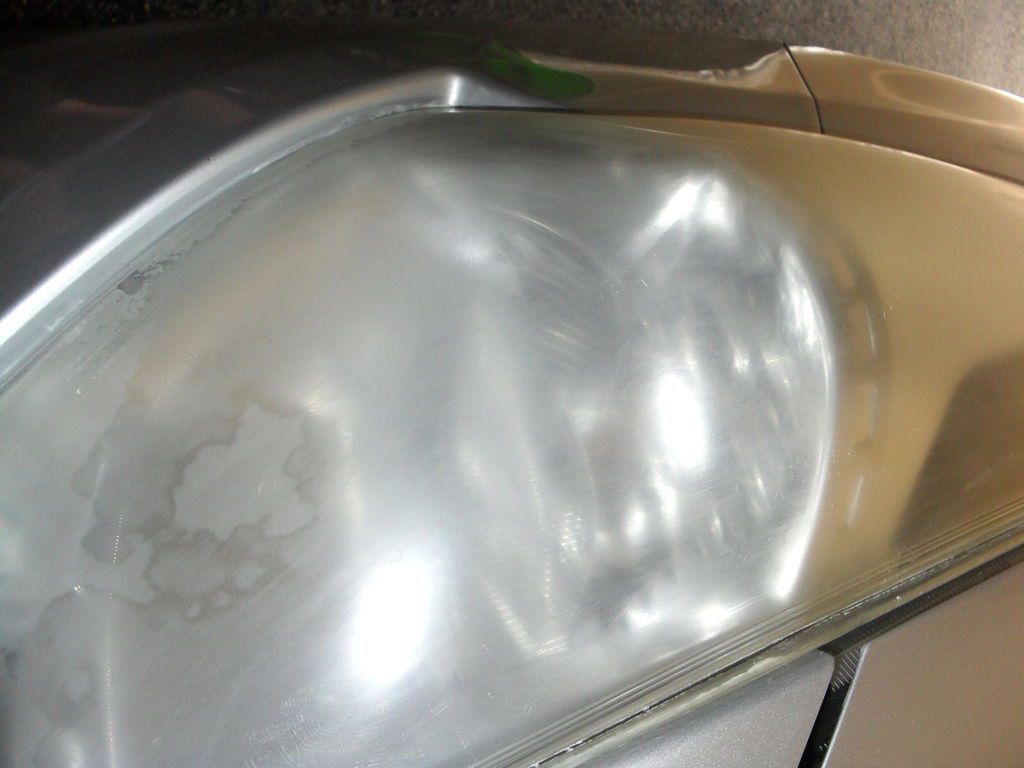
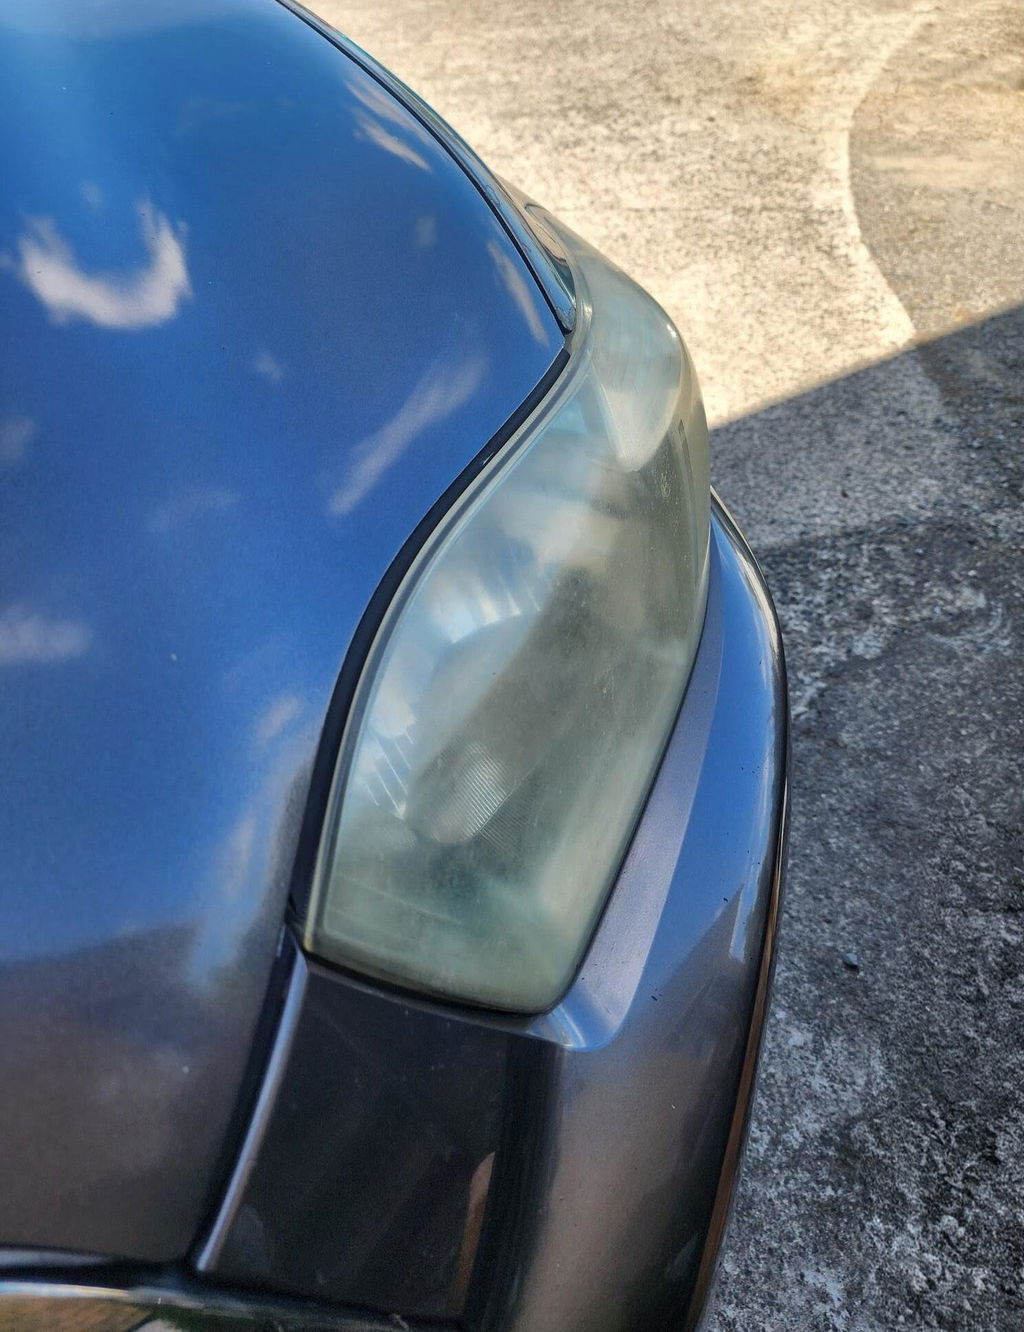
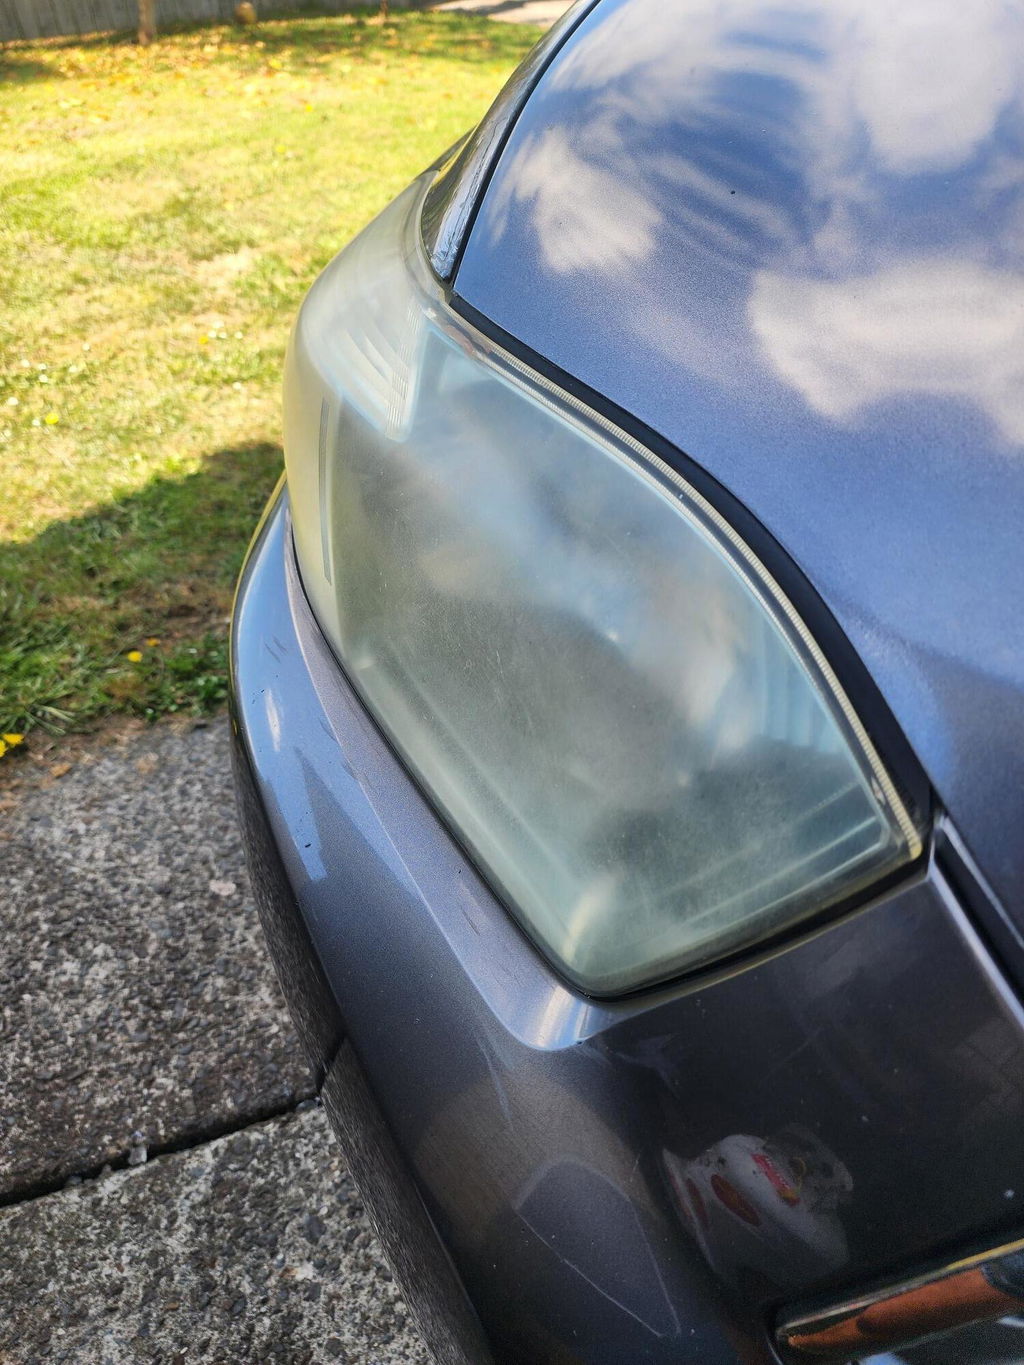
Cloudy or hazy headlights are one of the most common reasons NZ vehicles fail their Warrant of Fitness (WOF). From November 2026, WOF inspection intervals are extending for many vehicles, meaning longer gaps between official checks and more responsibility on owners to keep their cars compliant in between.
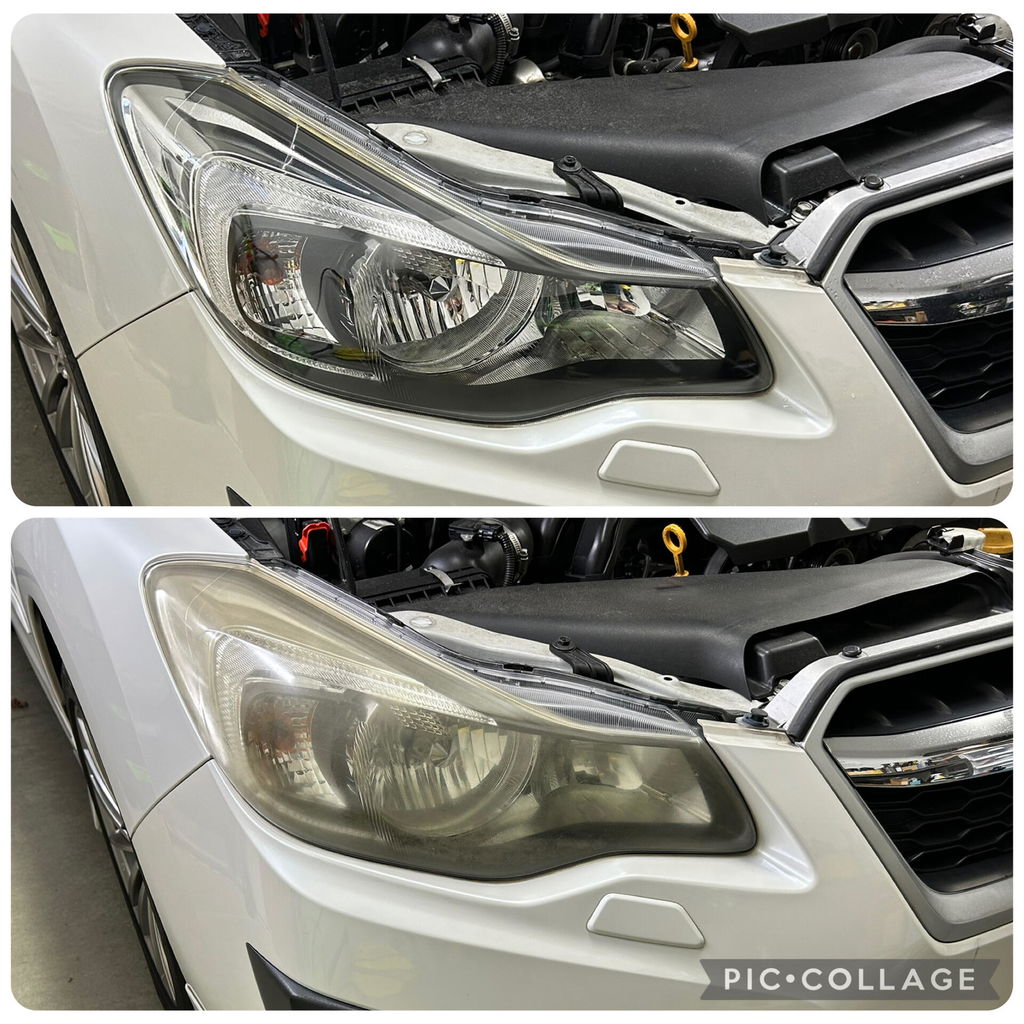
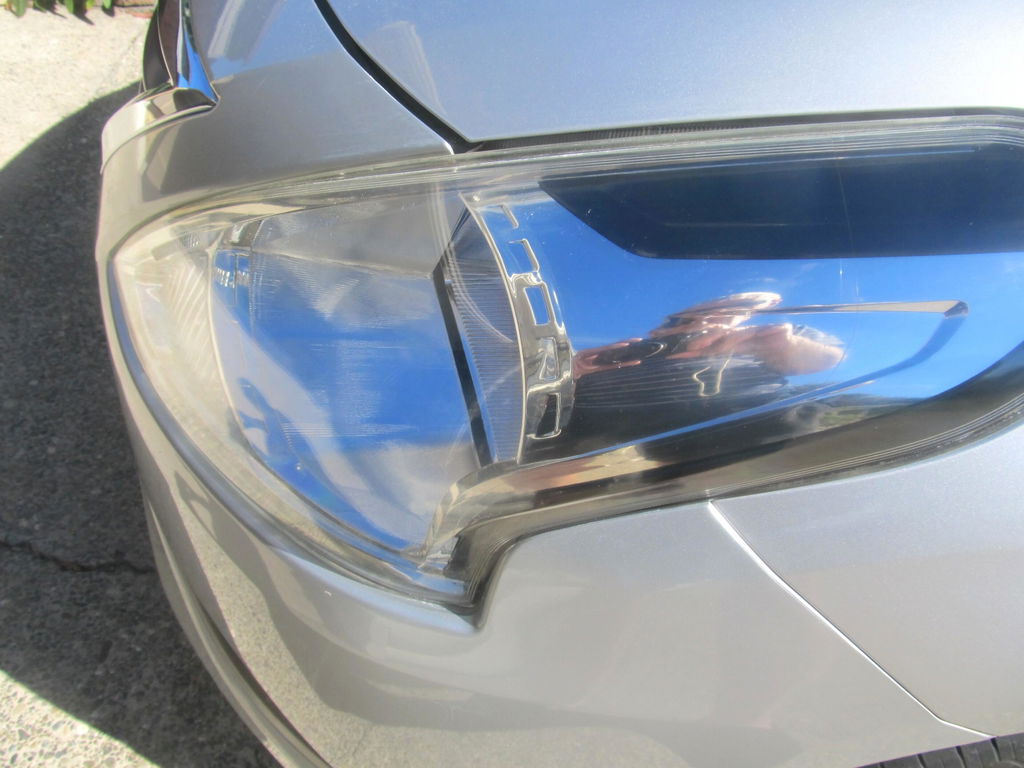
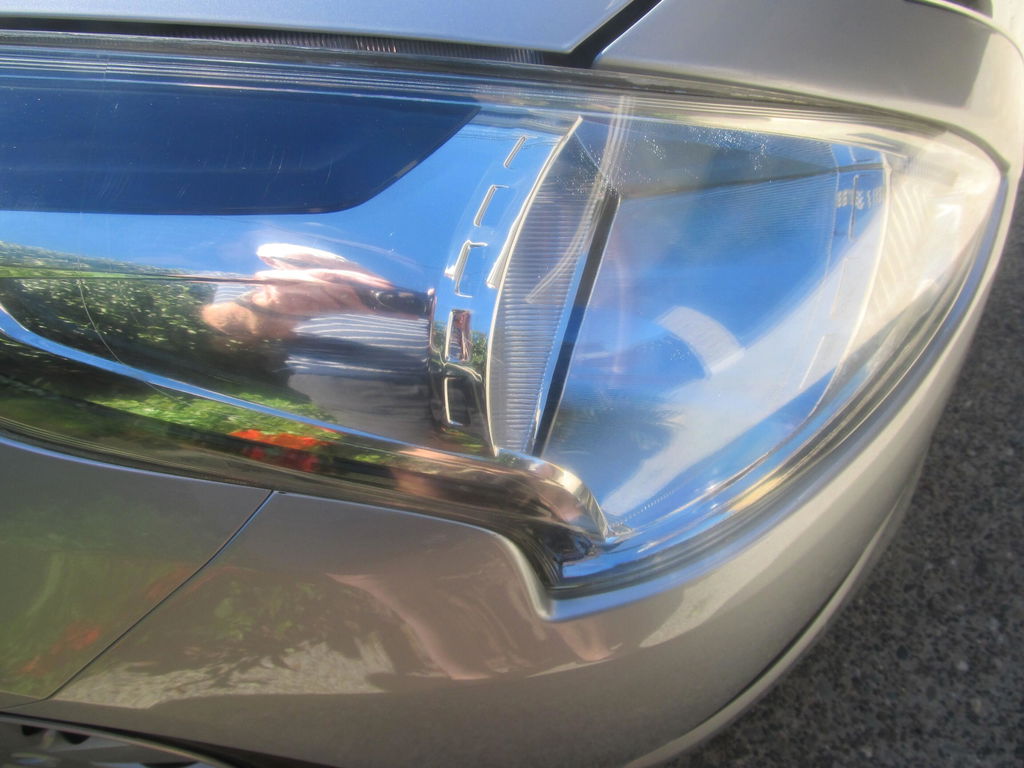
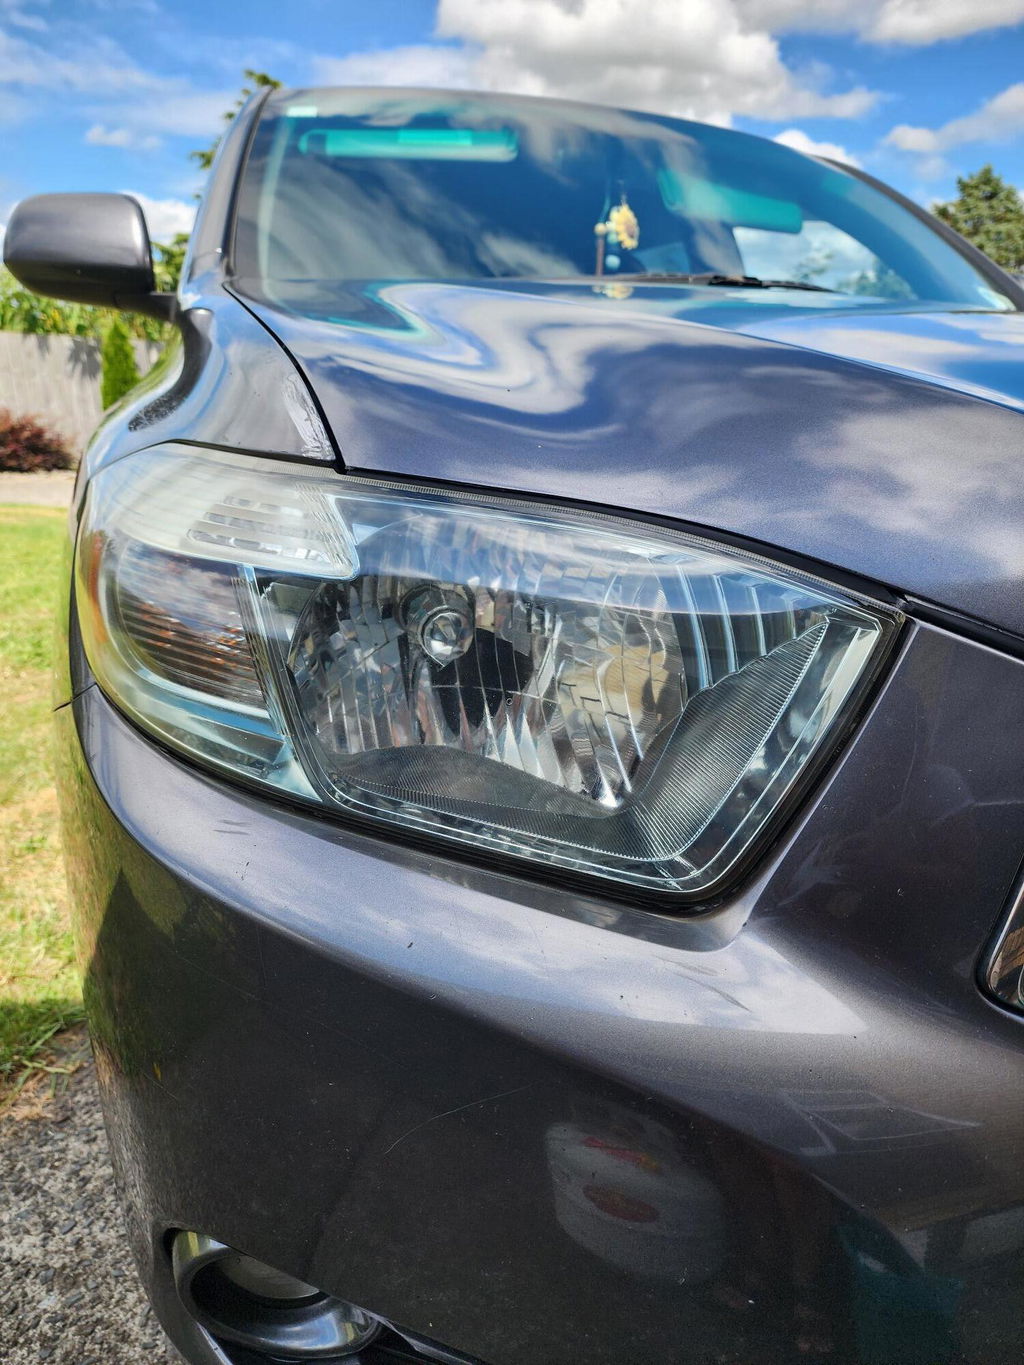
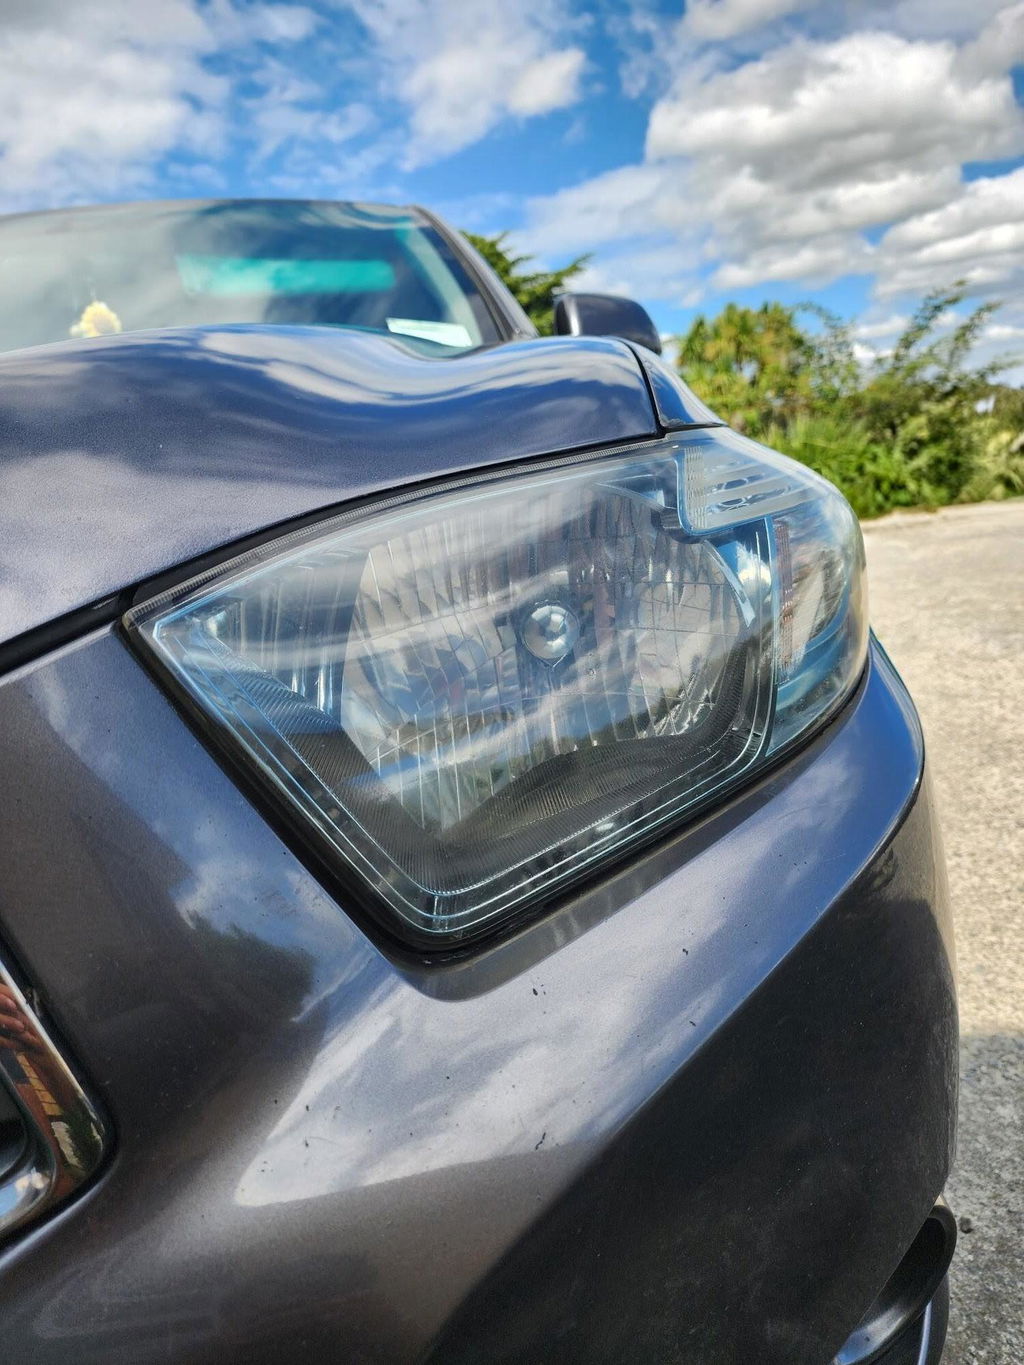
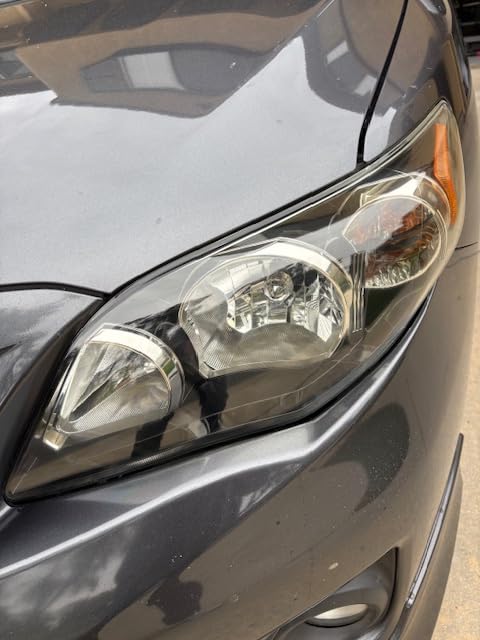
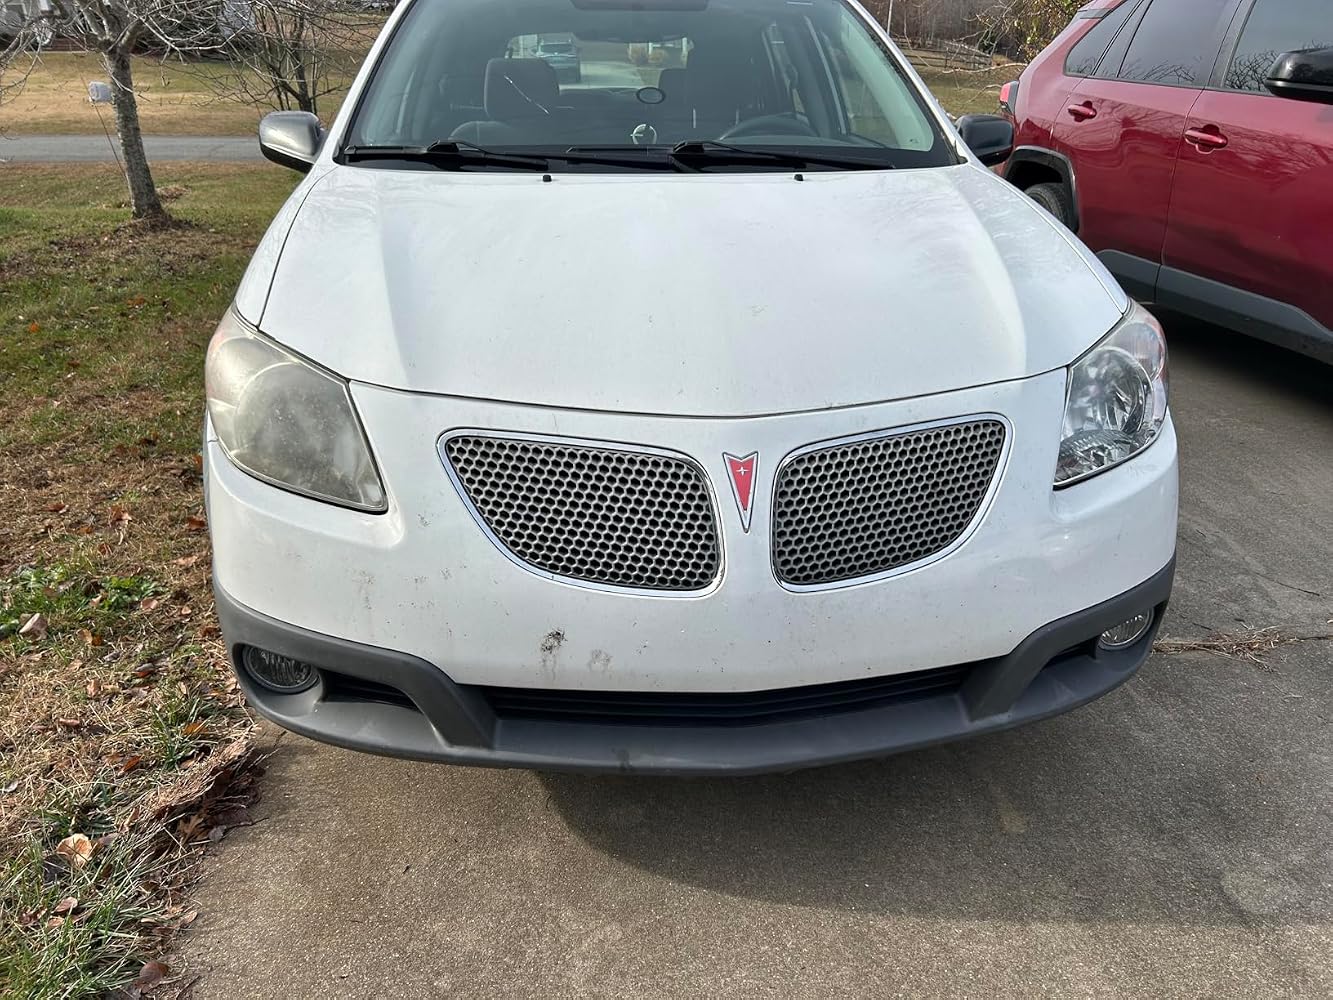
The Cerakote kit restores yellowed and oxidised lenses to clear in 3 steps, then applies a ceramic UV coating that stops the haze returning, so your headlights meet WOF lighting requirements and stay clear until your next inspection.
Shineworks
---
-Each kit Includes enough product to restore and protect 2 headlights.
-Unlike temporary sealants, Cerakote Headlight Restoration is a ceramic coating designed to perform in the most harsh environments.
-Easy 3 step application with no tools required.
The CERAKOTE Ceramic Headlight Restoration Kit offers an innovative solution for restoring headlights to their original clarity. Over time, headlights can become cloudy and yellowed due to exposure to UV rays and environmental conditions. This specialized kit utilizes Cerakote technology to clean and protect your headlights, enhancing visibility and safety during nighttime driving. With easy-to-follow instructions and high-quality components, you can achieve professional-level results right at home. Say goodbye to dim lighting and hello to restored brilliance with this effective restoration kit.
One of the key features of the Cerakote Headlight Restoration Kit is its long-lasting protection. Unlike traditional restoration methods that merely improve appearance, this kit forms a durable ceramic coating that shields your headlights from future damage. The formula is designed to resist yellowing and oxidation, ensuring your headlights remain clear and bright for an extended period. Whether you are preparing your car for resale or simply want to maintain its aesthetic appeal, this kit delivers impressive results that stand the test of time.
Additionally, the CERAKOTE Ceramic Headlight Restoration Kit is user-friendly, making it suitable for DIY enthusiasts and novices alike. The kit includes all necessary tools and instructions to guide you through the restoration process seamlessly. By investing a little time and effort, you can restore your headlights while avoiding costly professional services. Experience the satisfaction of a job well done and enjoy safer driving conditions with your newly restored headlights. Embrace the benefits of advanced Cerakote technology.
Each kit Includes enough product to restore and protect 2 headlights.
---
8 x Step 1 Oxidation Removing Wipes
1 x Sanding Pommel
4 x Sanding Discs (2 of Each Grit)
2 x Step 3 Ceramic Coating Wipes
As good as I hoped!
The oxidation remover worked great but the sandpapers included in the kit didn’t adequately remove the oxidation. We had to add our own polishing machine to remove the oxidation. Once oxidation was removed, the sealant also worked fine. Headlights looking good.
Great product, easy to use and full instructions via U Tube. End result headlights as good as new
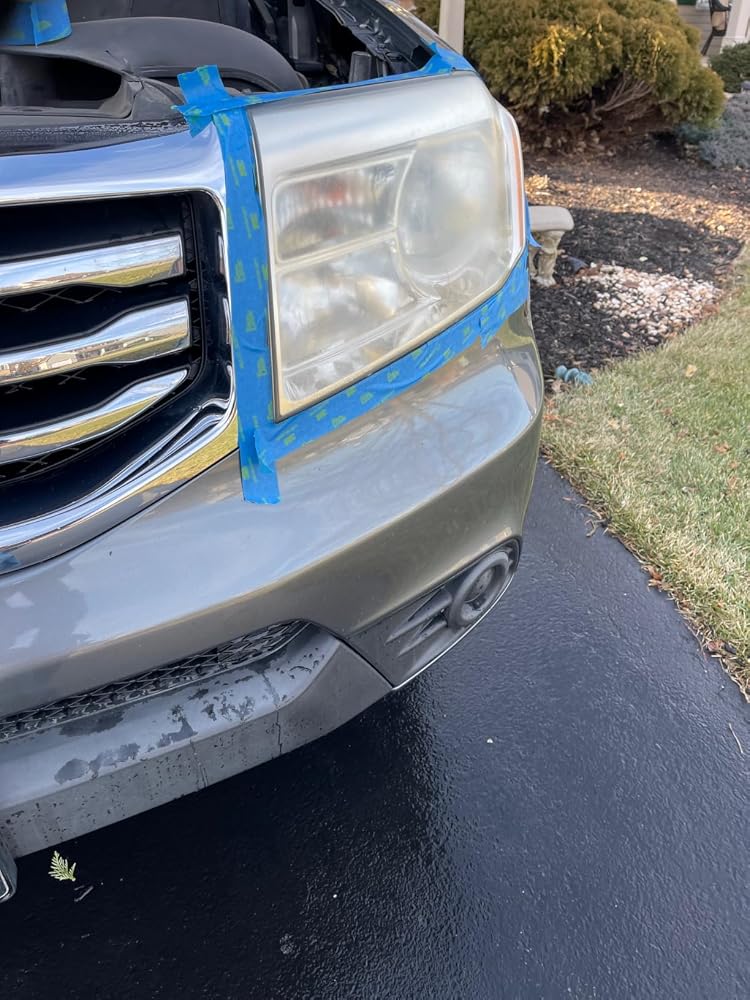
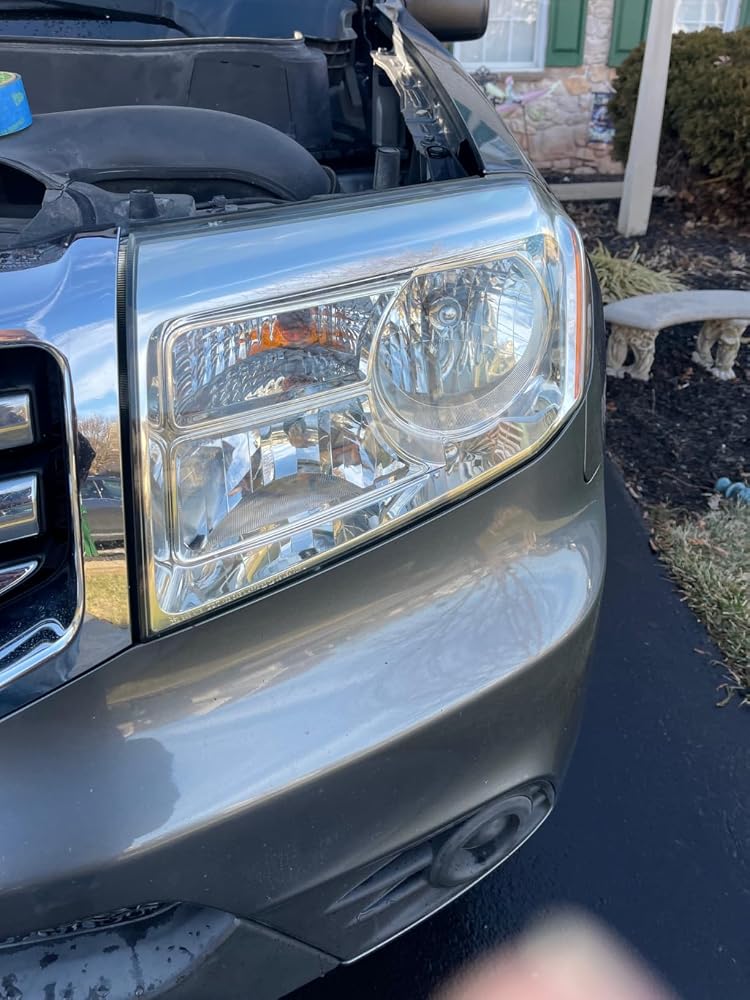
So stoked with my purchase!! I've tried all kinds of things to get my highlanders headlights back to clear! Was recommended by a couple of family members your headlight restoration kit, and wowee!!
If I could leave a 10-star review, I would!!I have used other headlight restorer products, and all were hard to use, took hours, and gave mediocre results at best. But this one was quick, easy, and turned out perfect.I have a 2011 Corolla with only 70k miles. I want it to last, but it is looking a little ragged. I decided to give Cerakote a go on the headlights. After using the first step oxidation removal wipes, I was amazed and ready to declare victory. They were clean and clear with NO SANDING. I was reluctant to go on to the second step, sanding, but the instructions said it would make a better surface for step 3 to adhere to. So I just wet sanded with the 3000 grit very lightly. Then, after applying the sealer, they came out glossy, clear, and perfect!! The whole thing took 30 minutes!!Don't waster you time on other products. This is the one.
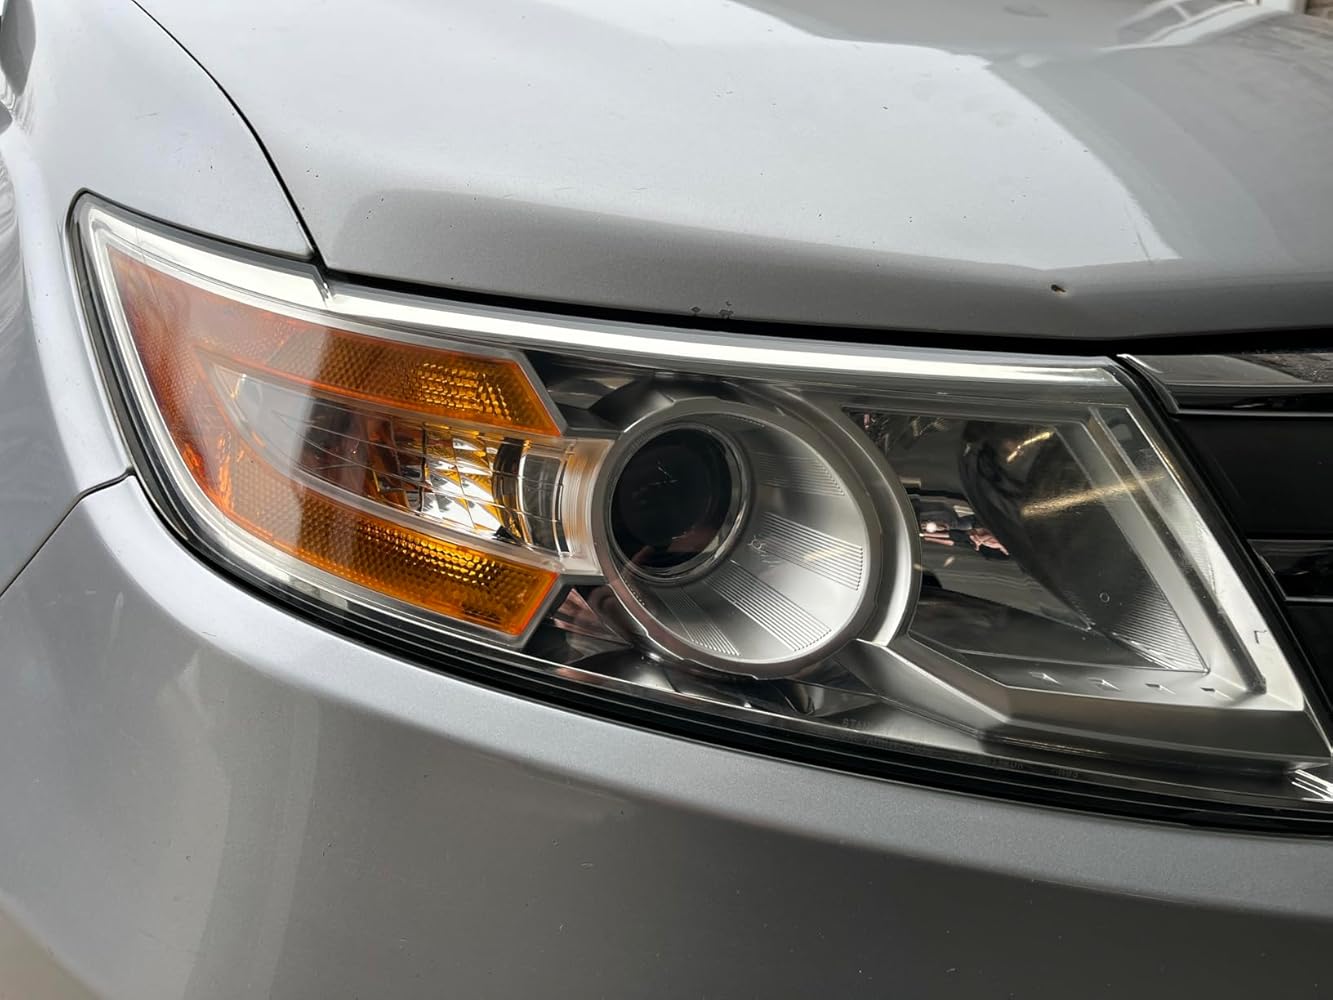
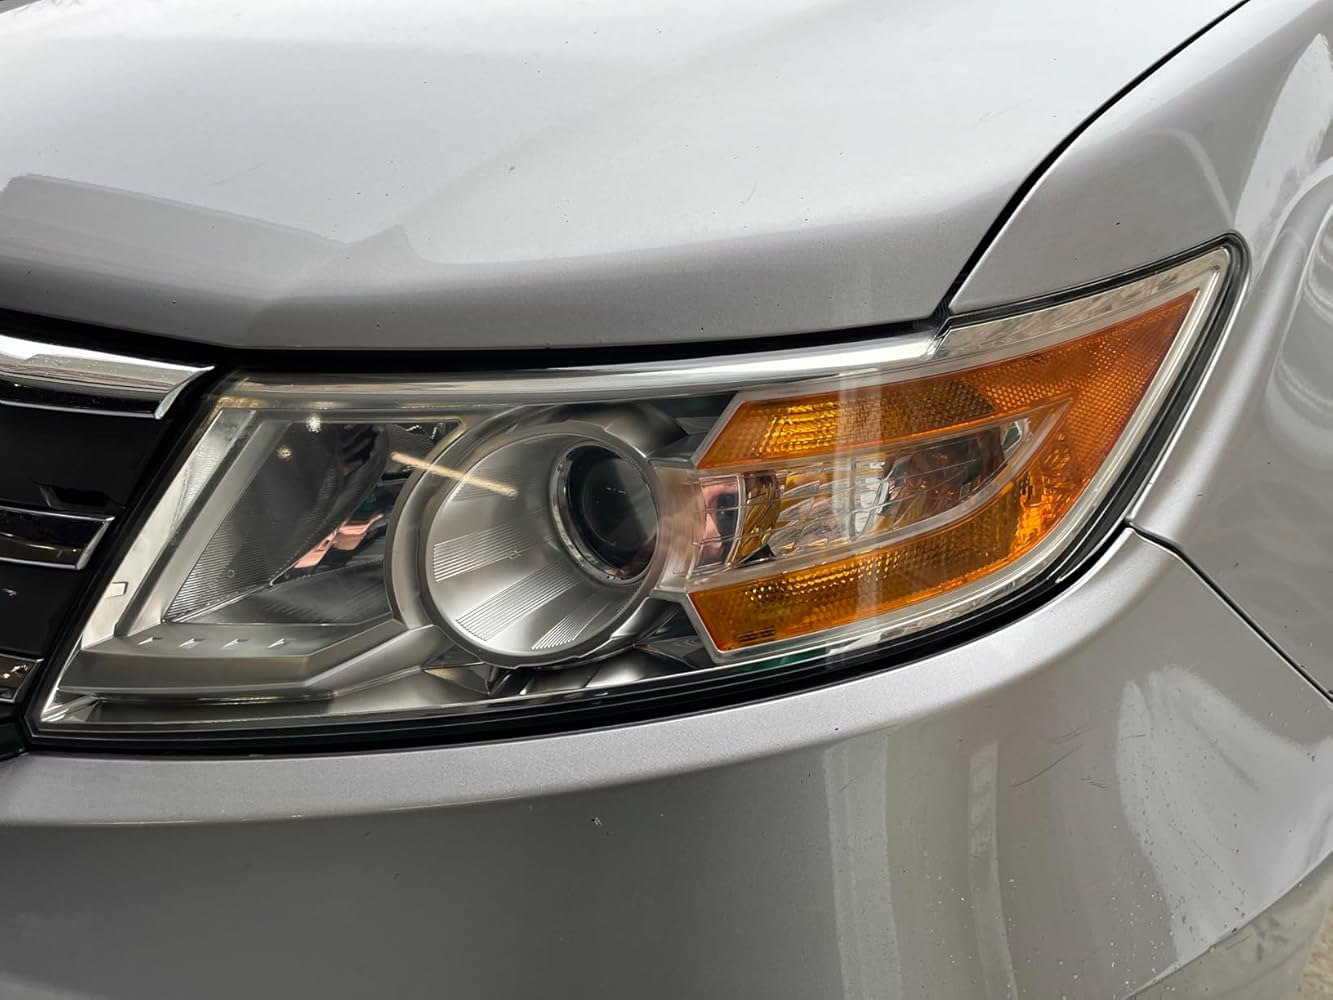
2011 Honda Odyssey lights had started to develop a pretty rough look on the lenses. Did a fair amount of research and online comparison and decided to give this kit a shot. Overall, pretty straightforward and scanned the QR code to follow the manufacturer's YouTube video for cleaning, sanding, and application. Total time was about 45 minutes to complete both lights. Made sure to use straight across, long sanding strokes to try and keep everything as uniform as possible. Did the same with initial oxidizing wipes prior to sanding.Once the water and sanding portion was done, I took my leaf blower and definitely made sure the surface was completely dry. It was also very smooth to the touch (which it should with 3000 grit paper). The final clear coat was a simple slow, methodical, 50% overlap with each swipe across the headlight lens. The results were quite better than the original look. I'll have to see with some time as to how well it holds up and lasts.
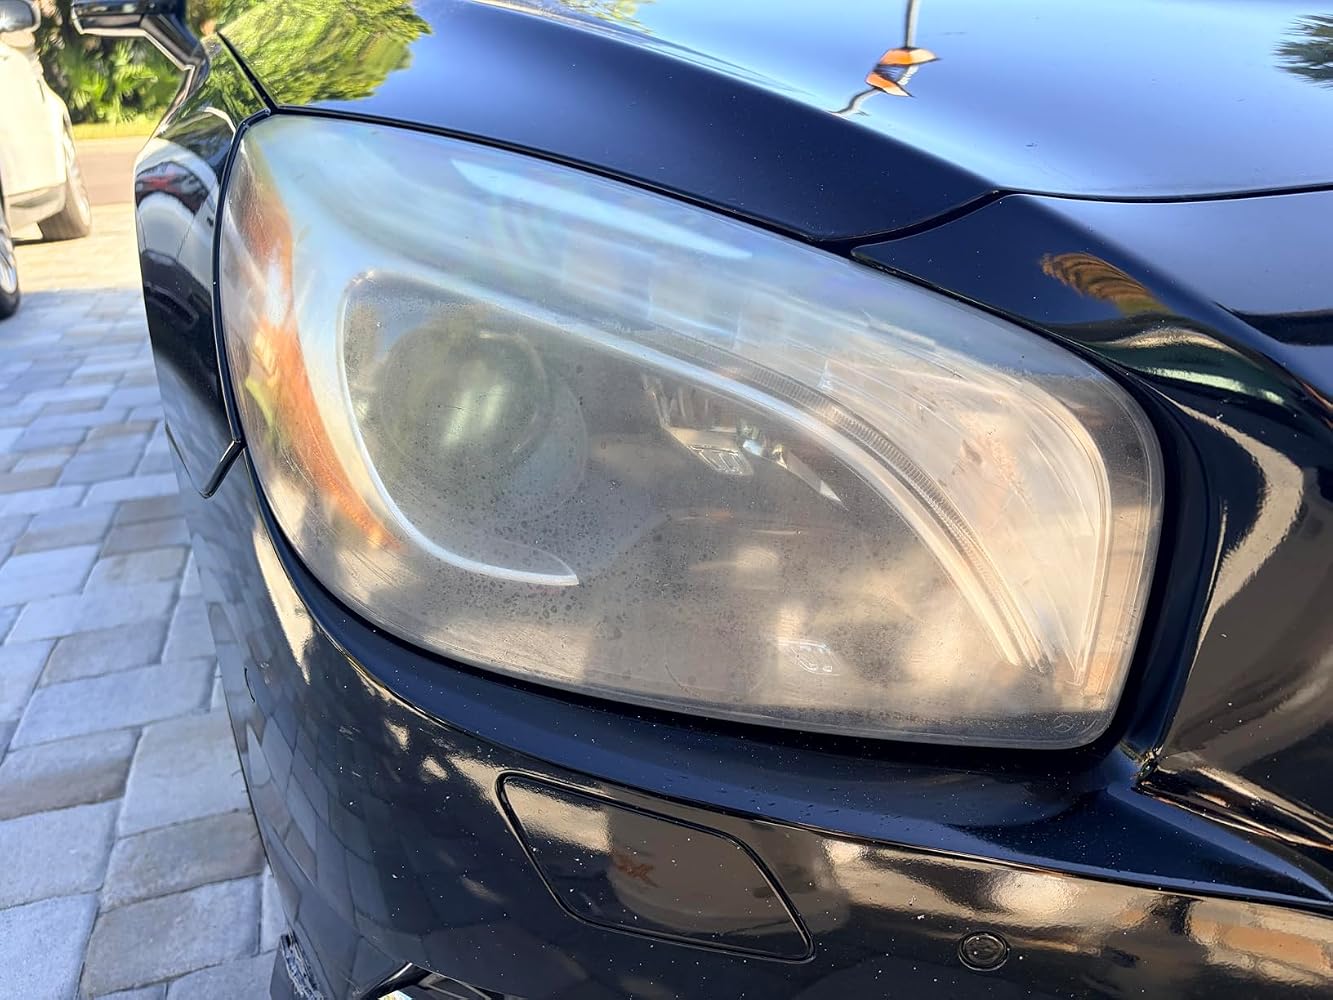
I rarely write reviews so the fact that I’m writing this speaks volumes. I am cleaning up my 2015 Mercedes SL400 and have tried other headlight restoration kits. I’ve even had my detailer try and clean these up with fair to moderate success. I had resolved that I was going to have to replace the headlights at $2k each. I had dinner with a friend who was cleaning up an old BMW he just bought and he was talking about the results of this kit and his headlights. I figured another $20 wouldn’t kill me if it worked.Holy Crap! This kit did the trick. See the photos. I need not say anything more!
This kit came with everything you need. It had multiple oxidation removers. I only had to use one per light as mine weren't as bad. Instructions were easy. It helps to review the video first. You get a QR code to watch the entire process. There are also written instructions. If you saw the video, the instructions were very clear.I wasn't too sure on it as the headlights were pretty cloudy after the sanding. Once I added the final step, everything cleared up. The results were instantly visible. It looked great! My headlights weren't as bad as others I have seen but the change is still remarkable. This was an inexpensive, easy to use solution.
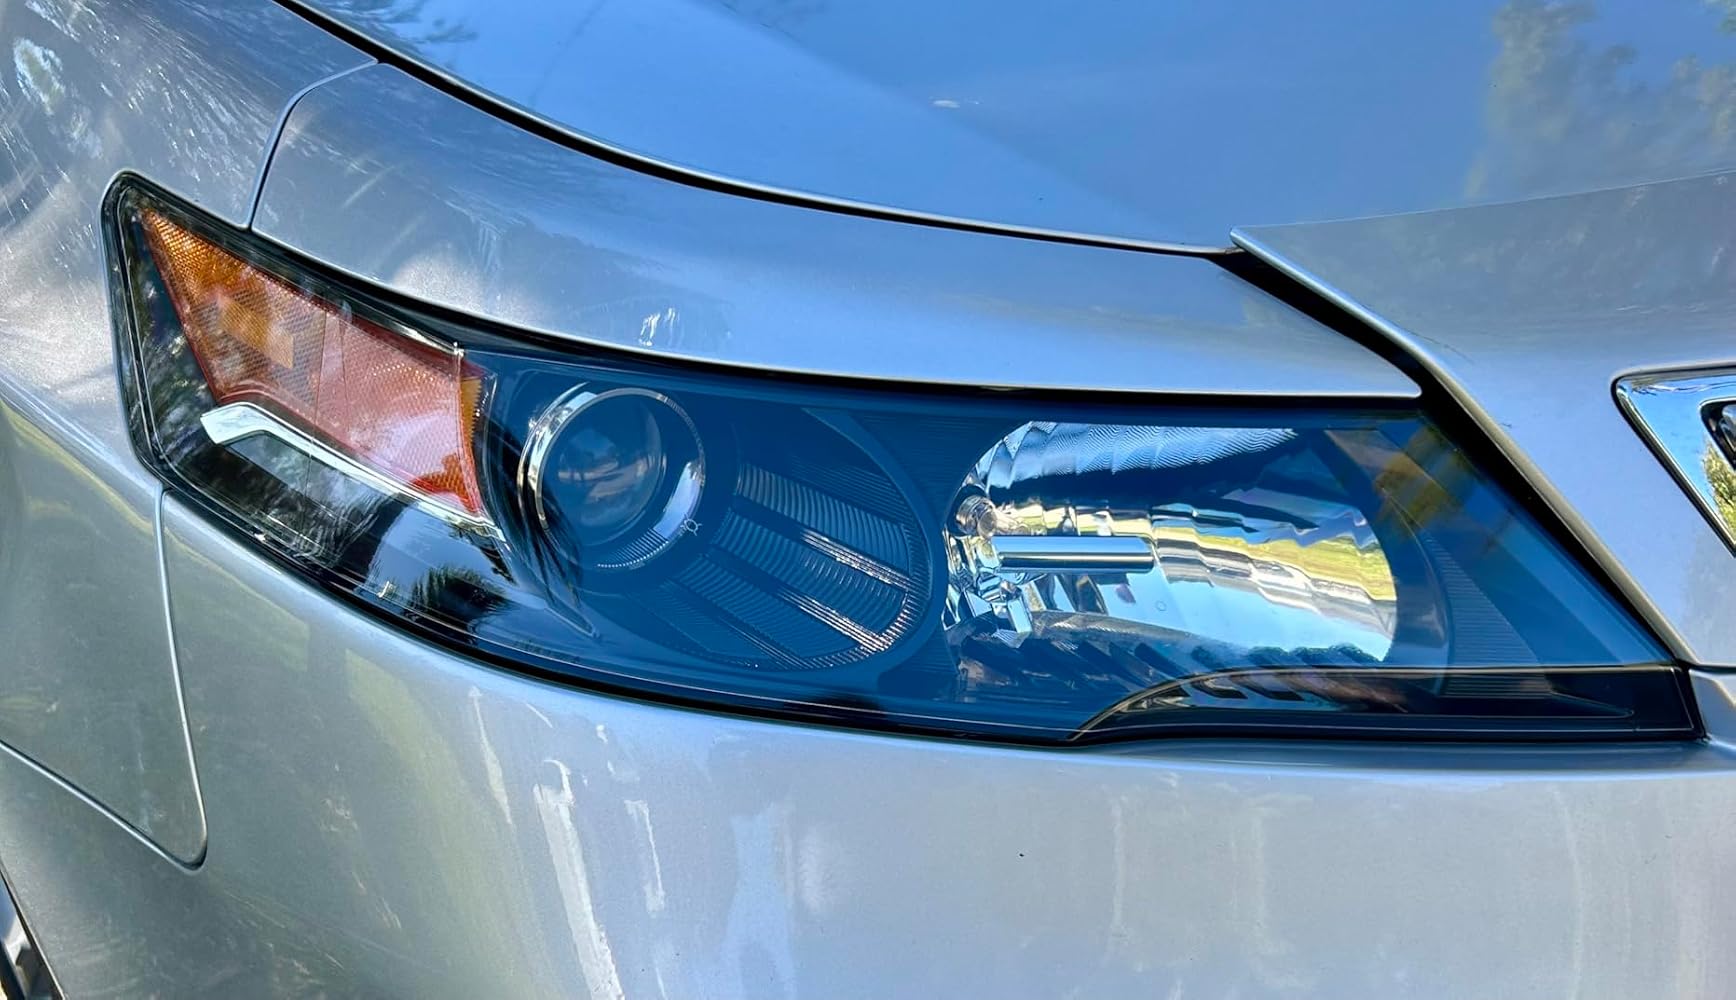
Recently purchased a 2012 Acura and noticed how bad the headlights looked. They were so cloudy and yellow that I decided to try something to clean them up. Cerakote has a lot of good reviews so that was the one I bought. I really didn’t expect much improvement but I made sure I watched the video a few times and followed each step as described. I would recommend doing the same otherwise the results may not be very good. After completing step 2 the lenses were pretty cloudy and I thought no way they would improve much. But after completing the third and last step I was blown away. The headlights looked brand new. See the photos. I wish I had taken a before photo to really show the difference. You’ll just have to believe me when I say this product worked wonders.
This restoration kit makes your headlamps look brand new! I highly recommend reading all of the instructions and even watching a quick how to video to ensure the best results. My headlights were dingy and very cloudy from UV exposure but this kit cleared them right up! I’ve compounded and cleared my headlights before but never applied a sealant. Thankfully this kit includes a ceramic coating which protects your headlights, apparently for a lifetime! The only thing with this kit is that you do use sand paper after a chemical cleaner, so be cautious and protect your paint around the headlight housing. The kit comes with a flat sandpaper grip, but you may need to use just your hand for the intricate parts. Use back and forth motions, not circular. The more time you spend sanding the better the results! After the sanding process your headlights will/should be cloudy from the fine scratches, might scare you but this is normal! This is where the ceramic coating comes in. Once the coating is applied your headlights go from cloudy plastic to pristine glass. It’s best to use this kit in 40°F temps or higher to fully allow the coating to self level. There is also a cure time of 60 mins, but waiting a full 24 hours before any exposure to elements is recommended. Stay safe out there!
I was driving my 15-yr-old Fiesta one night in the rain and had so little light from my headlights I finally decided it was time to do something about it. Got the Cerakote based on product reviews and the associated video -- and threw caution to the wind, taking on this little project during a little break in a New York winter with temperatures in the mid-40's.Instructions were very clear, and it turns out very useful. Took nearly no effort -- the initial "step one" pads took off so much clouding that I was almost tempted by the clarity to stop right there. Next step with the two grits of sand paper had me a bit concerned as that clarity was obscured by the tiny dust of the abraded lens, and the kit uses a flat pad for the sandpaper but the lens is a compound curve -- but, no guts, no glory, I supposed.I used a hair dryer to deal with the moisture from that step and to warm the lens a bit for the final step. The final coating went on smoothly, like a miraculous cream, immediately eliminating the slight cloudiness left from the sanding. Maybe I'm a pushover for simple things, but it was astounding to behold...It's utterly frigid outside at the moment (mid-January), so I can't vouch for long-term performance, or even for a hoped-for report that my disobedience to instructions had no adverse effect on the end-state of my headlights, but I'm already so far ahead of what I had before using this product, it's cool no matter any potential imperfection.
I purchased my car new in 2013. Almost 12 years later and it is still brand new except for the cloudy headlamps. I have tried a few other remedies in the past but it really made no difference. I tried the Cerakote today and I could not believe it. My headlamps look brand new. Be aware, this or any other product will not fix problems with your lens due to things like cracks or the spider webs caused by the sun. It does clean the cloudiness and oxidation completely. It is important that you follow the instructions completely on their youtube video. It is very easy to use and has just about everything you need in the box. It even has gloves and a sanding tool in the box. What is not included is a water bottle and painters tape to mask off the headlamps. As I said, follow their instructions, but I summarized what I did right here: WATCH THE CERAKOTE INSTRUCTION VIDEO COMPLETELY. THIS IS A SUMMARY OF WHAT I DID.STEP ONE: CLEAN WITH OXIDATION REMOVER WIPES1A) CLEAN AND DRY HEADLAMPS COMPLETELY1B) MASK HEADLAMPS WITH PAINTERS TAPE TO AVOID ACCIDENTALLY SANDING YOUR CAR'S PAINT1C) PUT ON THE PROVIDED GLOVES1D) USE STEP ONE OXIDATION REMOVER WIPES IN CIRCULAR MOTION1D) USE ALL THE WIPESSTEP TWO: SAND WITH 200 AND 300 GRIT SANDPAPER2A) SPRAY HEADLAMPS AND THE 200 GRIT SANDPAPER WITH A WATER BOTTLE2B) SAND IN STRAIGHT HORIZONTAL MOTIONS (NOT CIRCULAR)2C) KEEP THE HEADLAMP AND SANDPAPER WET AND KEEP SANDING2D) DRY AND CHECK. IT SHOULD BE EVENLY CLOUDY2E) KEEP SANDING AND DRY AND CHECK AGAIN. IT SHOULD BE EVENLY CLOUDY2F) SPRAY HEADLAMPS AND 300 GRIT WITH WATER BOTTLE2G) SAND IN HORIZONTAL MOTIONS (NOT CIRCULAR)2H) KEEP THE HEADLAMP AND SANDPAPER WET AND KEEP SANDING2I) DRY AND CHECK. IT SHOULD BE EVENLY CLOUDY2J) KEEP SANDING AND THEN DRY AND RE CHECKSTEP THREE: APPLY THE CERAMIC COATING IN A DRY COOL PLACE3A) DRY THE LIGHT COMPLETELY WITH A LEAF BLOWER3B) PUT ON THE PROVIDED GLOVES3C) USE STEP 3 CERAMIC COATING IN STRAIGHT HORIZONTAL WIPES3D) GO SLOW AND SMOOTH WITH ONE UNIFORM COAT3E) LET IT SIT IN THE GARAGE OR A DRY COOL (60 TO 70ISH DEGREES) PLACE FOR A COUPLE HOURSThanks again Cerakote!
The CERAKOTE® Ceramic Headlight Restoration Kit completely exceeded my expectations. I’ve tried other restoration products in the past, but nothing has come close to the clarity and long‑lasting results this kit delivered. The instructions were simple, the process was quick, and the transformation was dramatic. My headlights went from dull and hazy to crystal clear in under an hour.What impressed me most was the ceramic coating step. Instead of the temporary shine you get from many kits, this one leaves a durable, protective finish that actually lasts. Weeks later, my headlights still look freshly restored, with no yellowing or fog creeping back in.If you want a professional-quality result without paying shop prices, this kit is absolutely worth it. It’s easy to use, highly effective, and gives your vehicle a cleaner, newer look instantly. I’d recommend it to anyone who wants to restore their headlights with confidence.
For the most part, it works as described. I found that the included 2000 grit sandpaper didn’t cut the crud off my headlight sufficiently, so I had to pull out some 1500 grit from my own stock. No big deal, but for a product which claims to contain all supplies needed it’s a minor inconvenience. The included sandpaper seems fairly low quality, and gummed up more than even the discount stuff I keep on hand. That said, it did work well enough on the better of my two headlights, so it’s not a total waste. If you’re looking to restore a cloudy headlight though, it might be a good idea to start with some 1500 grit before pulling out the supplied sanding kit.The package claims it takes 30 minutes, but I spent about an hour making sure to do a really good job. Prep is key with these kinds of products. I seriously doubt you could do the job well in 30 minutes unless you’re working on a brand new car. If you’ve gotten to the point of needing a headlight restoration kit, you’ve probably got a bit more work and time ahead of you.Finally, a note for anyone else like me who has larger hands. The supplied gloves do technically fit, but they’re uncomfortably tight. You’ll probably want larger ones if you wear XL gloves.